Homemade Oreos: The Secret to a Better-Than-Store-Bought Taste
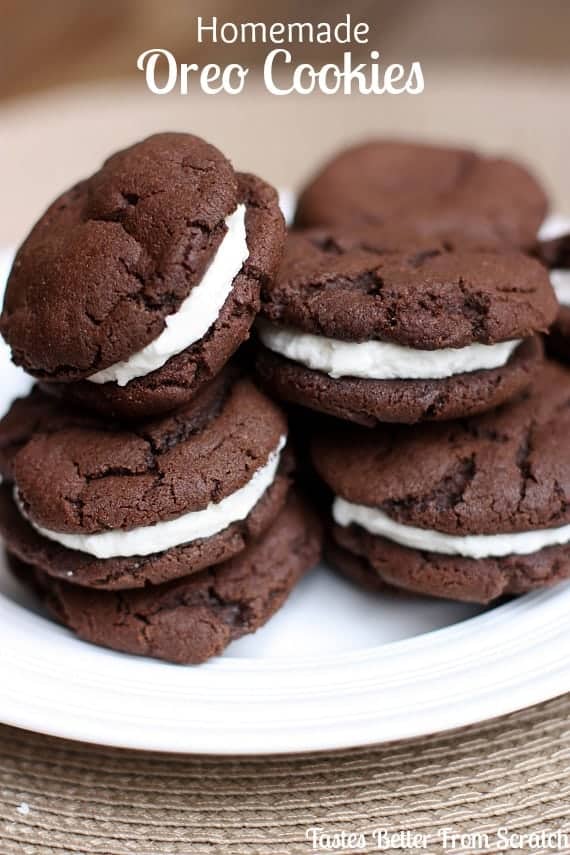
There's an undeniable magic in recreating beloved classics from scratch, especially when it comes to cookies that evoke childhood nostalgia. And among them, the humble yet iconic Oreo holds a special place. While grabbing a pack from the grocery store is undeniably convenient, a batch of
homemade Oreo cookies transcends the store-bought experience, delivering a depth of flavor, a superior texture, and a pure, unadulterated joy that truly sets them apart. Forget any weird aftertastes or unpronounceable additives; these are rich, crunchy, and creamy delights crafted right in your own kitchen, designed to become your new standby treat.
The Unbeatable Allure of Homemade Oreo Cookies
What makes
homemade Oreo cookies so incredibly special? It boils down to control over ingredients and an elevated sensory experience. The chocolate flavor, for instance, isn't just present; it's deep, robust, and luxurious, a direct result of selecting high-quality cocoa. This isn't just a chocolate-flavored cookie; it's a celebration of true chocolate.
Furthermore, the texture achieves a perfect symphony: a satisfyingly crisp bite from the dark chocolate wafers perfectly complemented by a smooth, luscious vanilla cream filling. Unlike some commercial versions that can feel overly sweet or have a crumbly texture, these homemade renditions strike a harmonious balance. You can also customize the sweetness and consistency of the cream filling to perfectly match your preferences, creating a truly bespoke cookie experience. Whether you crave a softer, yielding cream or a firmer, more substantial bite, the power is in your hands. This thoughtful preparation results in a treat that truly embodies everything you wish the store-bought originals still tasted like, and perhaps even better.
Mastering the Wafer: Essential Secrets for Perfect Homemade Oreo Cookies
The true heart of an exceptional
homemade Oreo cookie lies in its chocolate wafer. Get this part right, and the rest falls into place with delicious ease. Achieving that signature deep color, intense flavor, and crisp texture requires attention to a few critical details:
- Embrace Dutch-Process Cocoa: This is arguably the most crucial ingredient. Dutch-process cocoa is not optional for this recipe. Unlike natural cocoa, which is acidic, Dutch-process cocoa has been treated to reduce its acidity, resulting in a darker color, a mellower, richer chocolate flavor, and no bitter aftertaste. While you don't necessarily need the super-black cocoa used in some commercial versions, do not substitute regular, natural cocoa powder. The difference in color and flavor will be significant. For a deeper dive into this ingredient, check out our guide on Dutch-Process Cocoa & Thin Dough: Your Guide to Perfect Homemade Oreos.
- Roll the Dough Paper-Thin: For that perfectly crisp bite, aim to roll your dough to about 1/8 inch thick. Thicker dough will result in a softer, more cake-like cookie, losing that quintessential Oreo snap. To achieve uniform thickness, consider using a rolling pin with adjustable guides or spacers.
- Dust with Cocoa, Not Flour: When rolling out your dough, avoid dusting your work surface with all-purpose flour. Flour can make your dark chocolate wafers look pale and potentially dry out the dough. Instead, lightly dust with a bit of extra Dutch-process cocoa. This maintains the deep color and enhances the chocolate flavor.
- Cut Evenly: Precision matters for aesthetics and even baking. While fluted cutters lend that classic, iconic Oreo edge, any round cutter you have on hand will work beautifully. The key is to ensure all your cookies are roughly the same size. This not only ensures they bake consistently but also makes pairing them up with the cream filling much easier later on. For an extra touch of flair, some bakers even use patterned rolling pins for a decorative wafer.
- Chill Your Dough: Don't rush the process! Chilling your dough for at least 30 minutes (or even an hour) before rolling and cutting helps prevent spreading and ensures your cookies hold their shape beautifully during baking.
By adhering to these wafer-making principles, you'll lay the foundation for truly spectacular
homemade Oreo cookies that boast both visual appeal and an irresistible crunch.
Crafting the Creamy Dream: Filling Your Homemade Oreos
Once your dark chocolate wafers have cooled to perfection, it's time for the star of the show: the creamy filling. This is where you can truly let your creativity shine and dial in that "just like the real thing" flavor, or even venture into exciting new territory.
The classic filling typically consists of butter, powdered sugar, vanilla extract, and sometimes a touch of salt. For that distinctly "Oreo" flavor, a hint of coconut extract can be a game-changer, lending a subtle note that many associate with the original. However, don't stop there! This is an excellent opportunity to personalize your cookies. Consider adding:
- Peppermint extract: For a delightful seasonal twist.
- Almond extract: To add a sophisticated, nutty aroma.
- Orange zest or extract: For a bright, citrusy counterpoint to the rich chocolate.
- Espresso powder: To deepen the chocolate notes without adding coffee flavor.
- Food coloring: To create festive cookies for holidays or themed parties.
When it comes to application, precision can be achieved with a piping bag fitted with a round tip. This allows for neat, evenly distributed cream. However, if you don't have one, a simple spoon works just as effectively. The technique is crucial: drop a small dollop of filling into the center of one cookie, then gently twist the second cookie on top. Avoid pressing straight down, as this will squish the filling out the sides. Let the assembled cookies sit out for about 30 minutes before serving. This crucial resting period allows the filling to set up slightly, preventing mess and ensuring a more enjoyable eating experience.
Beyond the Classic: Customization and Storage Tips for Your Homemade Oreos
One of the greatest joys of making
homemade Oreo cookies is the endless potential for customization. This isn't just a recipe; it's a canvas for culinary creativity. Beyond tweaking the filling flavor, consider:
*
Cookie Variations: While Dutch-process cocoa is essential for the classic look, you could experiment with adding a pinch of chili powder to the dough for a Mexican chocolate twist, or even a dash of instant espresso powder to intensify the chocolate without making it taste like coffee.
*
Decorative Touches: Before baking, press a small stamp into your cookie dough for a unique design, or once baked and filled, roll the edges in sprinkles, finely chopped nuts, or mini chocolate chips for added texture and visual appeal.
*
Themed Cookies: Use different food colorings in your cream filling to match holidays – green for St. Patrick's Day, red and green for Christmas, or pastel colors for Easter.
Once you’ve invested the time in crafting these delectable treats, proper storage ensures you can savor them for longer. Your
homemade Oreo cookies will remain fresh and delicious for about a week when stored in an airtight tin on the counter. If you need to extend their shelf life, transfer them to an airtight container and store them in the fridge for up to a month.
And for those moments when an intense craving hits, or you simply want to always have a magical treat on hand, these cookies are excellent candidates for freezing. Layer them between sheets of parchment paper in an airtight container or freezer bag, and they'll keep beautifully for several months. Just imagine: pulling out a few homemade Oreos from the freezer, letting them thaw slightly, and enjoying that perfect crisp-creamy bite whenever the mood strikes. For more inspirations on baking and customizing, explore our guide on
Bake Your Own Oreos: Deep Chocolate, Customizable Cream, Pure Joy.
Why Homemade Oreos are More Than Just a Cookie
Baking
homemade Oreo cookies is more than just following a recipe; it's an experience. It’s a fun, slightly messy, and incredibly rewarding activity, whether you’re baking with kids, preparing a thoughtful DIY dessert gift, or simply aiming to recreate a cherished childhood treat with ingredients you recognize and can pronounce. There's a profound satisfaction in presenting a stack of these perfectly formed, deeply chocolatey, cream-filled wonders. They’re nostalgic, impressive, and once you taste one, you’ll understand why the homemade version truly "hits different." The rich flavor, the perfect texture, and the sheer joy of creating something so beloved from scratch will undoubtedly make these a permanent fixture in your baking repertoire.
In conclusion, while the store shelf offers convenience, the kitchen offers an unparalleled reward. Making
homemade Oreo cookies is a culinary journey worth taking, transforming simple ingredients into an extraordinary treat that consistently outshines its commercial counterpart. Dive into the delightful process, savor the rich aromas, and prepare to enjoy a cookie experience that's truly magical.