Unleash Your Inner Baker: Why Homemade Oreo Cookies Are a Game-Changer
There’s a certain magic that happens when you recreate a beloved classic from scratch. And when it comes to the iconic Oreo cookie, transforming it into a homemade masterpiece isn't just baking – it’s an act of culinary delight. Forget the store-bought version; once you taste the deep, rich chocolate wafers and the velvety, customizable cream of homemade Oreo cookies, you'll understand why this isn't just a recipe, it's an upgrade.
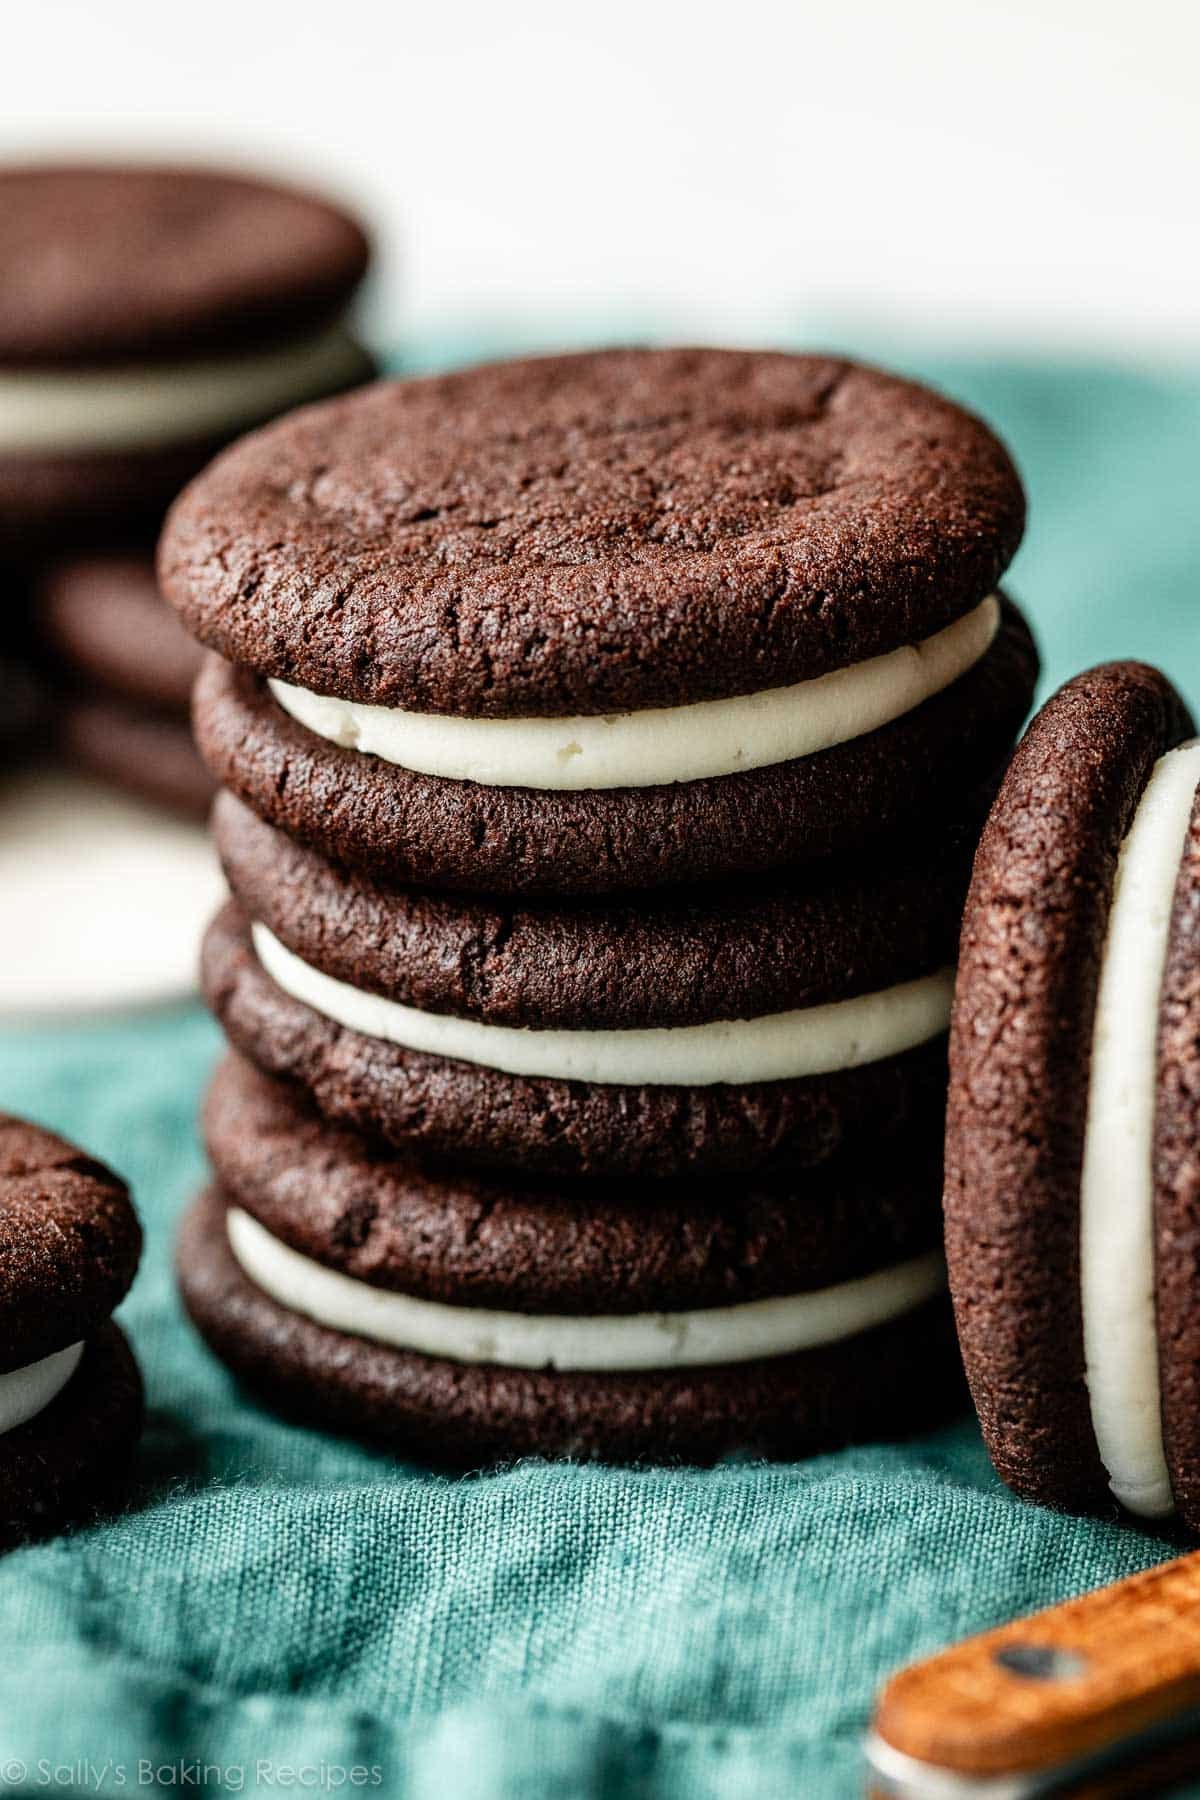
Imagine biting into a cookie with no artificial aftertaste, no mysterious additives, just pure, unadulterated flavor crafted right in your own kitchen. These aren't merely copycat Oreos; they are an elevated experience – crunchy, deeply chocolatey, and creamy in all the right places. And the best part? They are incredibly fun to make, a perfect activity for a rainy afternoon or a delightful project to share with loved ones.
The Irresistible Allure of Homemade Oreo Cookies: Beyond the Box
Sure, grabbing a sleeve of Oreos from the supermarket aisle is undeniably convenient. But the experience of baking your own homemade Oreo cookies opens up a whole new dimension of flavor and satisfaction. The difference is palpable. The chocolate flavor in the homemade wafer is profoundly deeper, more intense, and wonderfully complex – a stark contrast to the often muted notes of its commercial counterpart. This richness is largely thanks to a key ingredient we’ll discuss shortly, which delivers a dark, luxurious hue and an unparalleled taste profile.
Beyond the enhanced chocolate, the cream filling becomes a canvas for your creativity. While the classic vanilla is always a winner, making it at home means you can infuse it with other extracts or flavors. A touch of coconut extract, for example, can elevate the "just like the real thing" vibe with a subtle, exotic twist, giving it that familiar yet distinctly homemade charm. You control the sweetness, the texture, and the very essence of your sandwich cookie. The result is a crisp bite that isn't overly sweet, balanced perfectly with just the right amount of luscious cream. This is everything you wish the store-bought versions still tasted like, a nostalgic throwback with a gourmet twist.
Many home bakers find the process itself incredibly rewarding. It's a little messy, perhaps, but isn't that part of the joy of baking? From rolling out the dough to carefully sandwiching the cream, each step is a hands-on experience that connects you to your food in a way that simply opening a package cannot.
Mastering the Wafer: Your Guide to Deep Chocolate Perfection
The heart and soul of an exceptional homemade Oreo cookie lies squarely in its wafer. Get this right, and the rest of the magic effortlessly falls into place. Achieving that signature deep chocolate color and robust flavor isn't just about using cocoa powder; it's about using the *right* kind of cocoa powder.
The Non-Negotiable Ingredient: Dutch-Process Cocoa
This is not an optional suggestion; it's a fundamental requirement. Dutch-process cocoa, also known as alkalized cocoa, is treated with an alkaline solution that neutralizes its acidity. This process results in a cocoa powder that is darker in color, milder in flavor, and less bitter than natural cocoa. More importantly, it creates that iconic deep, almost black, chocolate color and a sophisticated flavor profile that is essential for authentic homemade Oreo cookies. While you don't necessarily need "super black" cocoa, under no circumstances should you substitute regular, natural cocoa powder. The difference in color, flavor, and even the way it reacts in the dough will be significant, leading to a vastly different (and likely disappointing) outcome. For more on this crucial ingredient, check out our guide on Dutch-Process Cocoa & Thin Dough: Your Guide to Perfect Homemade Oreos.
The Art of Rolling Thin
Once you've got your perfectly balanced dough, the next critical step is rolling it out. Aim for a thickness of about 1/8 inch – no thicker. This thinness is what contributes to that satisfying crisp bite in the finished cookie. To prevent the dough from sticking, and to avoid drying it out or making it pale with flour, dust your work surface with extra cocoa powder instead of all-purpose flour. This not only keeps the deep chocolate color consistent but also reinforces the chocolate flavor. For an extra touch of authenticity or fun, you can even use a patterned rolling pin to imprint designs, though a smooth pin works just as well.
Precision Cutting for Uniformity
After rolling, it's time to cut your wafers. Fluted cutters are fantastic for achieving that classic, recognizable Oreo edge, but any round cutter you have on hand will work beautifully. The key here is uniformity. Try your best to cut all the cookies to the same size. This ensures they bake evenly, preventing some from burning while others are still undercooked. It also guarantees that your sandwich cookies will match up perfectly when you're ready to add the filling, creating a visually appealing and structurally sound treat.
Crafting the Creamy Core and Perfect Assembly
With your deep chocolate wafers cooling, it’s time to turn your attention to the luscious cream filling. This is where your homemade cookies truly shine, offering a freshness and richness that’s simply unmatched by store-bought alternatives.
The Perfect Cream Filling
Most homemade Oreo cream recipes involve powdered sugar, butter or shortening, vanilla extract, and often a splash of milk or cream to achieve the desired consistency. The beauty of making it yourself is the ability to adjust the sweetness and flavor. Want a stronger vanilla punch? Add a little extra high-quality extract. Feeling adventurous? Incorporate a tiny dash of peppermint extract for a seasonal twist, or a spoonful of smooth peanut butter for a nutty delight. A small amount of coconut extract can give that subtle, "just like the original" note, but with a fresher, brighter taste.
Assembling Your Masterpiece
Once your cookies are completely cool – this is important to prevent the filling from melting – get your cream ready. For precision and a neat, professional look, a piping bag fitted with a round tip is your best friend. However, don't feel intimidated if you don't have one; a simple spoon works perfectly well. Just dollop a modest amount of filling onto the flat side of one cookie. Then, gently place another cookie on top, flat side down, and twist it slightly as you press down. The twisting motion helps to evenly distribute the cream right to the edges without squishing it out in a messy burst. Avoid pressing straight down, as this often leads to uneven filling and squished sides.
The Crucial Setting Time
Patience is a virtue, especially after assembly. Let your homemade Oreo cookies sit out for at least 30 minutes, or even an hour, before serving. This allows the filling to firm up and set slightly, preventing it from oozing everywhere on the first bite and ensuring the cookies hold their shape beautifully. Once set, they are ready to be devoured.
Customization and Storage: Unleash Your Inner Cookie Artist
One of the most exciting aspects of making your own cookies is the endless potential for customization. This recipe is incredibly forgiving and fun to experiment with, consistently yielding delicious results even when you get a little "weird" with it (in the best possible way!).
Flavor Variations and Beyond
- Mint Chocolate: Add a few drops of peppermint extract to the cream for a refreshing twist.
- Peanut Butter Dream: Swirl a tablespoon of creamy peanut butter into your vanilla filling.
- Lemon Zest: A hint of lemon zest or extract in the cream offers a bright, unexpected contrast.
- Coffee Infusion: A teaspoon of instant espresso powder mixed into the cream can create a mocha delight.
- Colored Cream: Food coloring is an easy way to make festive cookies for holidays or parties.
Beyond the filling, consider different cookie cut-outs for special occasions, or even drizzling melted white chocolate over the finished sandwich cookies for an extra touch of elegance.
Storage for Lasting Enjoyment
Once your homemade Oreo cookies are assembled and set, store them properly to maintain their freshness. They will keep beautifully for about a week on the counter when stored in an airtight container or tin. For extended freshness, you can place them in the refrigerator for up to a month. And for those moments when an intense craving strikes, these cookies are excellent candidates for freezing. Layer them between sheets of parchment paper in an airtight container or freezer-safe bag, and they'll remain fresh for several months. Simply pull them out and let them thaw slightly at room temperature for a quick, delicious treat.
Conclusion: The Pure Joy of Homemade Oreos
Whether you're looking for a fun baking project with the kids, crafting unique DIY dessert gifts, or simply aiming to recreate a beloved childhood treat with ingredients you can confidently pronounce, these homemade Oreo cookies are an endeavor that is 100% worth your time and effort. They are fun, deeply nostalgic, and undeniably impressive when presented in a towering stack on a plate. The moment you take that first bite – the crisp snap of the dark chocolate wafer, followed by the soft, sweet give of the customizable cream – you’ll understand. The homemade version just hits different. It's not just a cookie; it's a testament to the magic of baking from scratch and the pure joy it brings.
